25/03/2009

XenDesktop - "Virtual Desktop Agent" ( VDA) - What gets installed

VMs/ PCs / Blades setup for users to connect to via XenDesktop must have the "Virtual Desktop Agent" (VDA) installed.

The installation process is described in "XenDesktop 3 - Virtual Desktop Agent Installation"

The purpose of this post is to provide more detail on what actually gets installed when the "Virtual Desktop Agent" setup is run.

The information here is based on an install using XdsAgent.msi from XenDesktop 3.

Add/Remove Programs
Add / Remove Programs reports:
"Citrix Virtual Desktop Agent" - Version : 3.0.3053


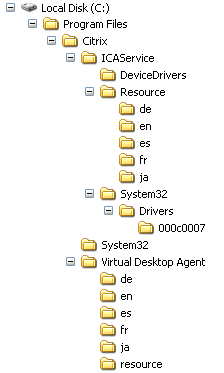
Installation Path
The default install path is C:\Program Files\Citrix


Devices / Drivers
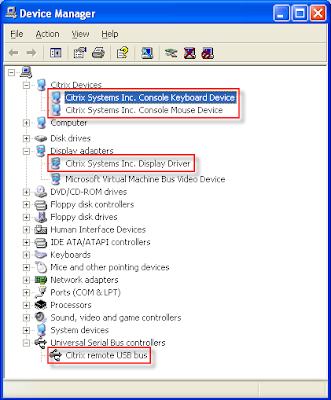
The following new devices appear:


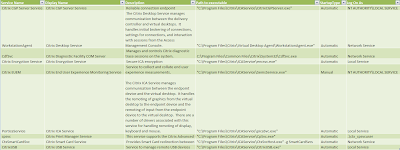
More details in the table below:

Services
The following new services are installed:
  • Citrix CGP Server Service
  • Citrix Desktop Service
  • Citrix Diagnostic Facility COM Server
  • Citrix Encryption Service
  • Citrix End User Experience Monitoring Service
  • Citrix ICA Service
  • Citrix Print Manager Service
  • Citrix Smart Card Service
  • Citrix USB Service

More details in the table below:

21/03/2009

XenDesktop 3 - Web Interface and Desktop Reciever (6/6)

Connections to Virtual Desktops are made via the Citrix Web Interface (WI)

This post describes connecting for the first time and installing a XenDesktop Client.

Connect to the newly created website


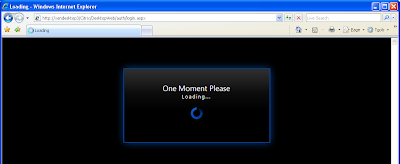
The first launch is generally quite slow with a "One Moment Please" dialog displayed


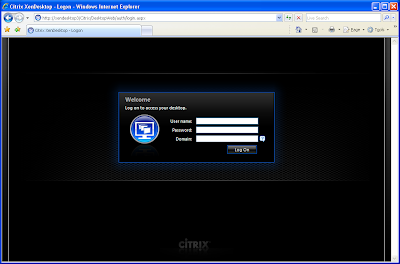
You'll then be prompted to Enter Credentials
(This is configurable. Various type of authentication - including "Pass-Through" can be setup to streamline the connection process)


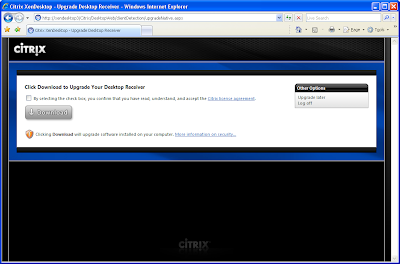
Unless a a client is already installed, you will be prompted to download and install the "Desktop Reciever" (this is an ICA client)


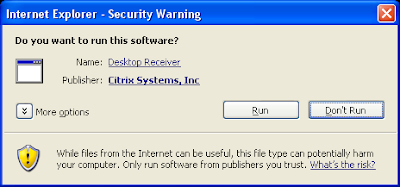
Continue with the install when prompted


XenDesktop 3 now supports enhanced USB redirection


You may be prompted to close the open instance of IE

The installation should then complete

Sadly another reboot needed (!)


A check in Add / Remove Programs shows the "Citrix Desktop Reciever" has been installed - along with version details.

Once logged into the website again, an icon will be shown allowing a connection to Virtual Machine.
Click to initiate a connection

A "Please wait" - "Connecting to your desktop..." is briefly displayed


Followed by a "Client File Security Dialog"


Job done - the assigned XP desktop in the Desktop Reciever Client!

XenDesktop 3 - Virtual Desktop Agent Installation (5/6)

VMs designated for use with XenDesktop need to have the XenDesktop Virtual Desktop Agent (VDA) installed in them.

This post describes the manual installation process.

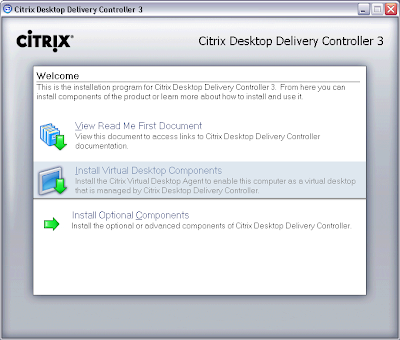
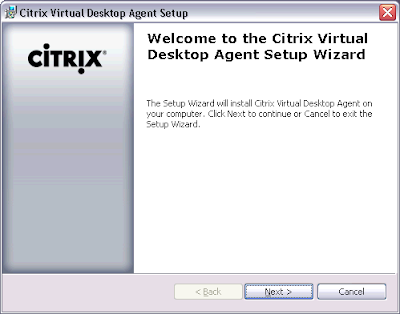
The installation can be launched by running autorun.exe on the Desktop Delivery Controller DVD, or directly by XdsAgent.msi


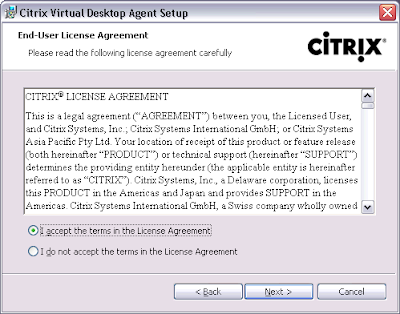
Accept the EULA


Accept the default Port Number (or adjust as appropriate)


The install can take care of Firewall exclusions


When prompted for "Farm Selection", select the Farm created when installing the DDC.


Ready to start the install...


(Sadly a reboot is needed - probalby due to drivers being installed)


Add / Remove Programs shows the "Citrix Virtual Desktop Agent" and associated version details.


20/03/2009

XenDesktop 3 - Desktop Group Configuration (4/6)

This post describes how to create a "Desktop Group" and specify a VM that will be made available when a user connects.

Various configuration options exist. I'm using some of the "simplest" - purely to test the main comnponents are working together.

Launch the Access Management Console
Right Click on "Desktop Groups" and select "Create Desktop Group"


Select the "Assignment Type" you want to use.
I'm using "Assigned" (which means a VM is permanently assigned to a user)
I've also chosen "Pre-assigned" which means a specific machine is preassigned to a specific user


Within "Hosting Infrastructure" I've selected "None"
This is purley so I can test that XenDesktop works as a broker and I can make a connection to an existing VM (without having to get invovled in setting up Virtual Infrastructure at this point).


Virtual Machines and Users can now be assigned.
Start by specifying a Computer

Next Assign the computer to a User


Populated details will now show in the UI


Enter a "Display Name" and "Description" for the Desktop Group


Select an Icon (this gets shown when users connect)


Prompts are shown allowing the group to be "disabled" initially, and allowing more advanced configuration settings to be specified.


Once created, the new Desktop Group will appear in the AMC UI


Selecting the group will show machines / assignments within it and current status

XenDesktop 3 - AMC Initial Configuration (3/6)

This post is the third in a series on configuration of XenDesktop 3.0


Once the initial install has completed and the AD Configuration Wizard has run, the Access Management Console (AMC) is launched.

A series of initial configuration tasks are run


Select "Add Local Computer" to add the local machine tothe list of Desktop Delivery Controllers (DDC) in the Farm.


The Access Management Console is now launched


Xen Desktop 3 - AD Configuration (2/6)

This post is the second in a series about configuration of XenDesktop 3.0

The XenDesktop setup routine automatically launches the "Active Directory Configuration Wizard". Screenshots below show what this looks like.


You need to identify an existing OU to use (or create a new one)


The configuration wizard tells you what changes its about to make.


The changes are then applied and confirmation shown of the status


Once completed, the setup routine prompts to start the Access Manager Console (AMC)
This is covered in "XenDesktop 3 - AMC - Initial Configuration (3 of n)"