What you need before you start:
- A test environment with AD, DNS, DHCP etc
- A machine (can be a VM) with Windows 2003 Server R2 installed
- Sufficient rights - Local admin and domain admin rights (for simplicity of performing testing only!)
- Access to Citrix XenDesktop 3.0 Installation Media - available here XenDesktop 3.0 Enterprise Evaluation (only the Desktop Delivery Controller is required for a "basic" installation - XD_3_0_0_dvd.iso)
- An evaluation license key
Start the install by running AutoRun.exe on the DVD
The following dialog appears select "Install Server Components"
 Confirm the EULA

(unless you already have a Citrix license server setup)

You'll be prompted to enter the name of a "Farm"
(in a test environment it dosn't make any odds what you call this but obviously requires a bit more thought when creating one in production)

Select the "Edition" of XenDesktop you want to install.
(I'm only doing a basic test here so have selected "Standard")

You can change DB options and choose to configure a license server here.
(I'm doing this later so have skipped)

Now time to start the install!


(I'm doing this later so have skipped)

Now time to start the install!

The XenDesktop setup routine takes care of installing the "pre-requites" such as:
- .Net Framework 3.5
- IIS
- Visual J#
- Java 2 Runtime Environment

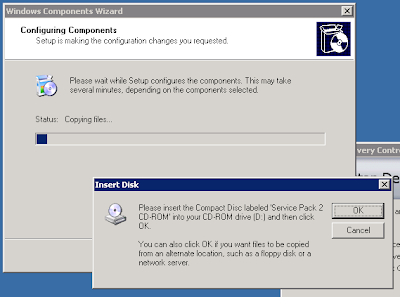
During installation, a prompt is made for Windows source files (in order to install IIS)
2 reboots were also requried - after you may need to manually start the setup routine again (autorun.exe) - it will continue where it left off.
Once setup has completed, you're prompted to configure AD
The AD configuration piece is covered in "XenDesktop 3 - AD Configuration"

No comments:
Post a Comment